Follow Me On Social Media!


Stained Glass Cookies That Spark Joy and Delight!
Introduction to Stained Glass Cookies
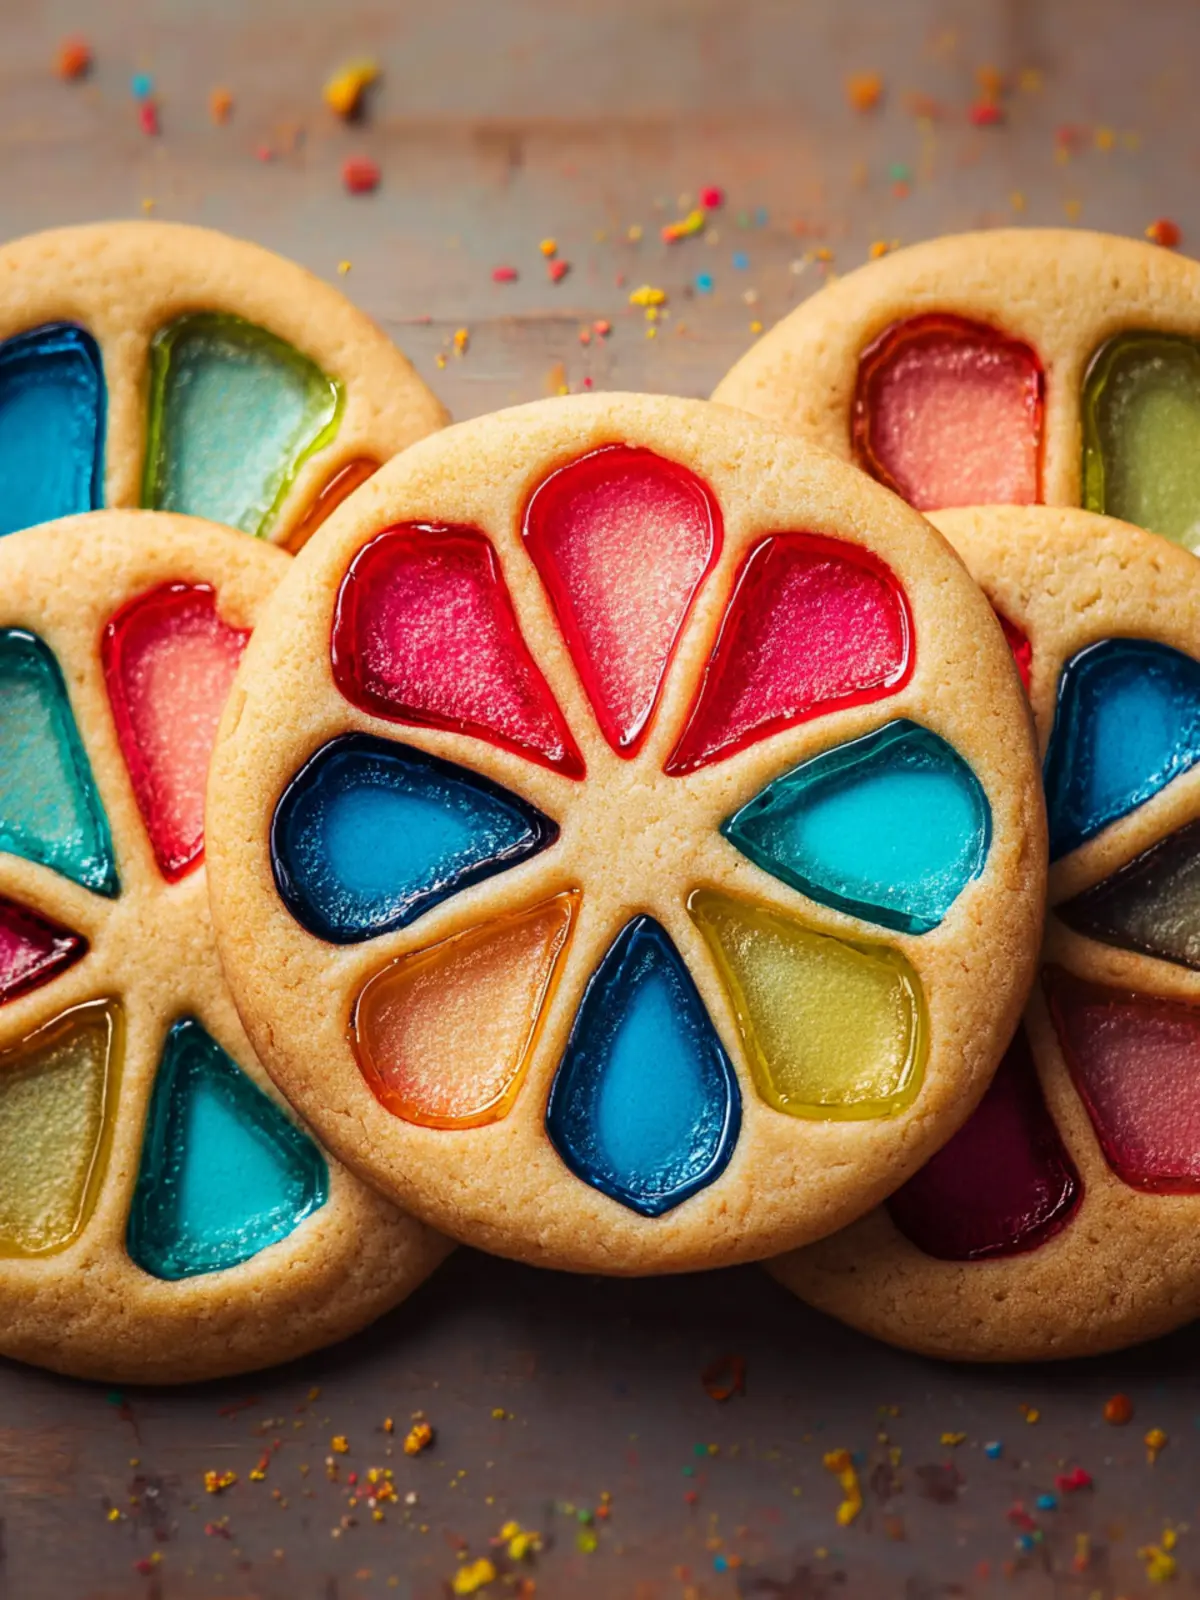
Imagine biting into a cookie that not only tastes delightful but also resembles a colorful work of art. This is precisely the charm of stained glass cookies. They’re not just your average treat; they’re visually stunning and allow you to infuse some creativity into your baking. Originating from the classic holiday cookie tradition, these cookies are relatively easy to make and become a cherished part of festive gatherings or casual get-togethers.
What makes stained glass cookies a must-try? The vibrant colors from melted hard candies, combined with a buttery, sweet cookie base, create a delightful treat that captivates the eye and satisfies your sweet tooth. The joy of creating shapes—like stars, hearts, or even holiday-themed designs—transforms ordinary baking into a fun, festive activity. It’s particularly enjoyable to have children or friends join in the cookie-cutting process, making it a memorable experience. The anticipation of watching the beautiful candy windows melt into stunning, glass-like centers adds an element of surprise that’s hard to resist.
In addition to their aesthetic appeal, stained glass cookies are incredibly versatile. You can tailor the colors and flavors to suit any occasion. Want a spring theme? Go for pastel candies. Feeling festive during winter? Opt for red and green. You can even experiment with flavored candies for a unique twist. The possibilities are endless!
These cookies also offer an excellent outlet for creativity. Consider decorating them with icing or sprinkles to make them truly your own. It’s a chance to personalize your cookies, making them not just a treat but also a canvas for your imagination. And let’s not forget the element of nostalgia—many of us have fond memories of baking cookies during the holidays, and these beauties can reignite that spirit.
So gather your ingredients, invite some friends, and prepare to make a batch of these captivating stained glass cookies that will surely leave everyone enchanted. They’re a treat for the taste buds and the eyes, making them a wonderful addition to any cookie platter!
Key Ingredients for Stained Glass Cookies
Creating beautiful stained glass cookies isn’t just about the art; it’s about the ingredients that bring them to life. Each component plays a crucial role in achieving that perfect balance of flavor and texture.
-
Butter: This recipe calls for unsalted butter that adds richness and depth to the dough. I prefer butter that’s at room temperature; it creams beautifully with sugar, creating a smooth, decadent base for our cookies.
-
Granulated Sugar: Using granulated sugar not only sweetens the cookies but also aids in achieving that delightful crisp around the edges. It’s the foundation of sweetness in these treats.
-
Eggs: The eggs act as the binding agent and contribute to the overall lift of the cookie. Make sure to use large eggs, as they provide just the right moisture for the dough.
-
All-Purpose Flour: This essential ingredient forms the bulk of the dough, providing structure and stability. I find that measuring by weight gives a more consistent result, ensuring uniformity in your cookies.
-
Corn Syrup and Crushed Hard Candies: Here’s where the magic happens! Corn syrup gives your stained glass filling a beautiful shine, while the crushed candies create that stunning centerpiece. Opt for vibrant colors for a striking effect!
Each of these stained glass cookies ingredients comes together to create a treat that’s both visually stunning and delicious, perfect for any occasion.
Why You’ll Love These Stained Glass Cookies
There’s something utterly captivating about stained glass cookies that sparks the imagination and takes you back to childhood. Picture a cozy kitchen filled with the aromas of sugar and butter, where the magic happens as colorful candies melt into beautifully transparent windows in each cookie. But what makes these treats truly special goes beyond their striking appearance.
A Feast for the Eyes and the Taste Buds
-
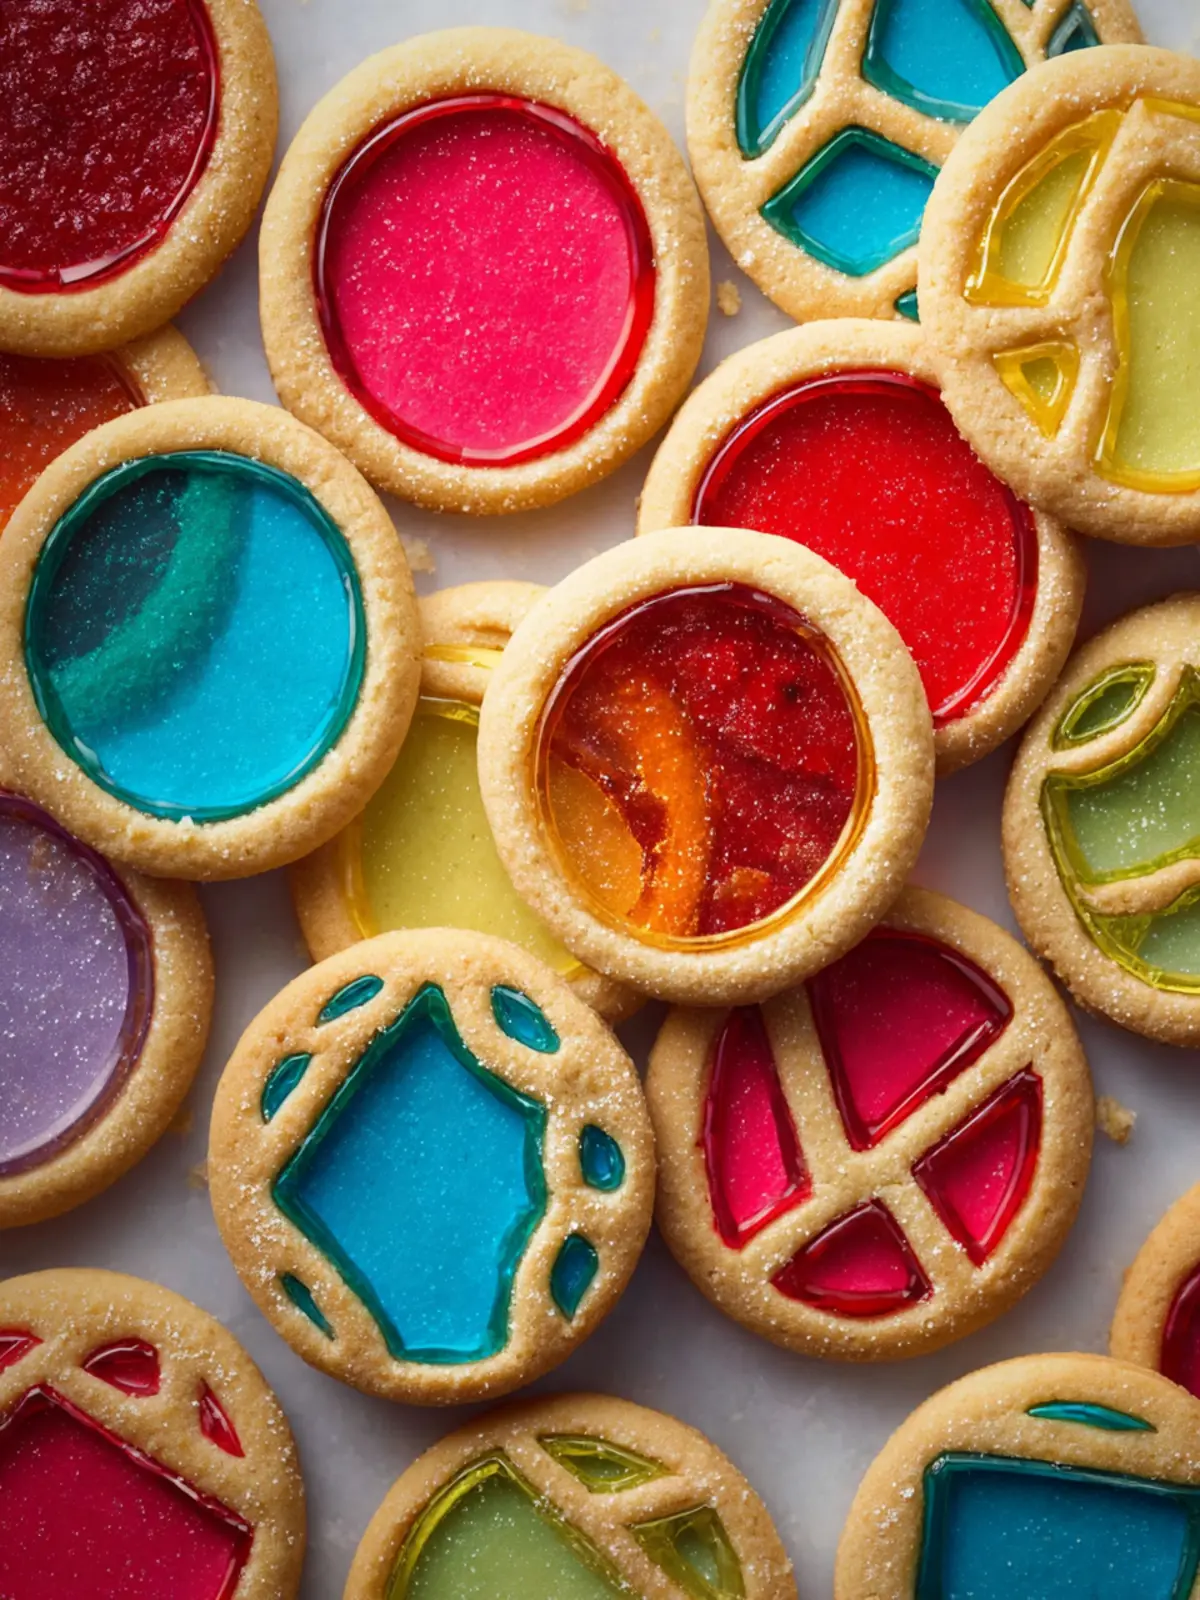
Visual Appeal: Each cookie is like a little piece of art. The vibrant colors of the melted candies create an enchanting effect, making these cookies perfect for special occasions or just a fun afternoon baking session.
-
Simple Ingredients: The recipe uses basic pantry staples—sugar, butter, flour, and eggs—yet the candy adds that unexpected twist. You don’t need to be a baking expert to create these treats; they’re approachable for bakers of any level.
-
Endless Customization: You can personalize stained glass cookies by playing with different shapes and color combinations. Why not mix it up with seasonal themes or different holiday colors?
-
Memorable Moments: Baking these cookies is best enjoyed with friends or family, creating cherished memories as you work together to cut, fill, and decorate.
In essence, stained glass cookies are not just delicious treats; they’re an experience that brings joy and creativity into the kitchen. You’ll find that making (and eating) these cookies is as delightful as looking through your favorite stained glass window on a sunny day!
Variations of Stained Glass Cookies
Stained glass cookies are a delightful treat that not only taste delicious but are also visually stunning. While the classic recipe shines with vibrant colors, you can easily add your creative twist to make them even more special. Here are some fun variations to consider:
Flavors to Explore
- Citrus Infusion: Adding lemon or orange zest to the dough can bring a zesty brightness that contrasts beautifully with the sweetness of the sugar.
- Spiced Versions: Incorporating warm spices like cinnamon or ginger can create a cozy flavor profile, perfect for chilly days.
Different Shapes
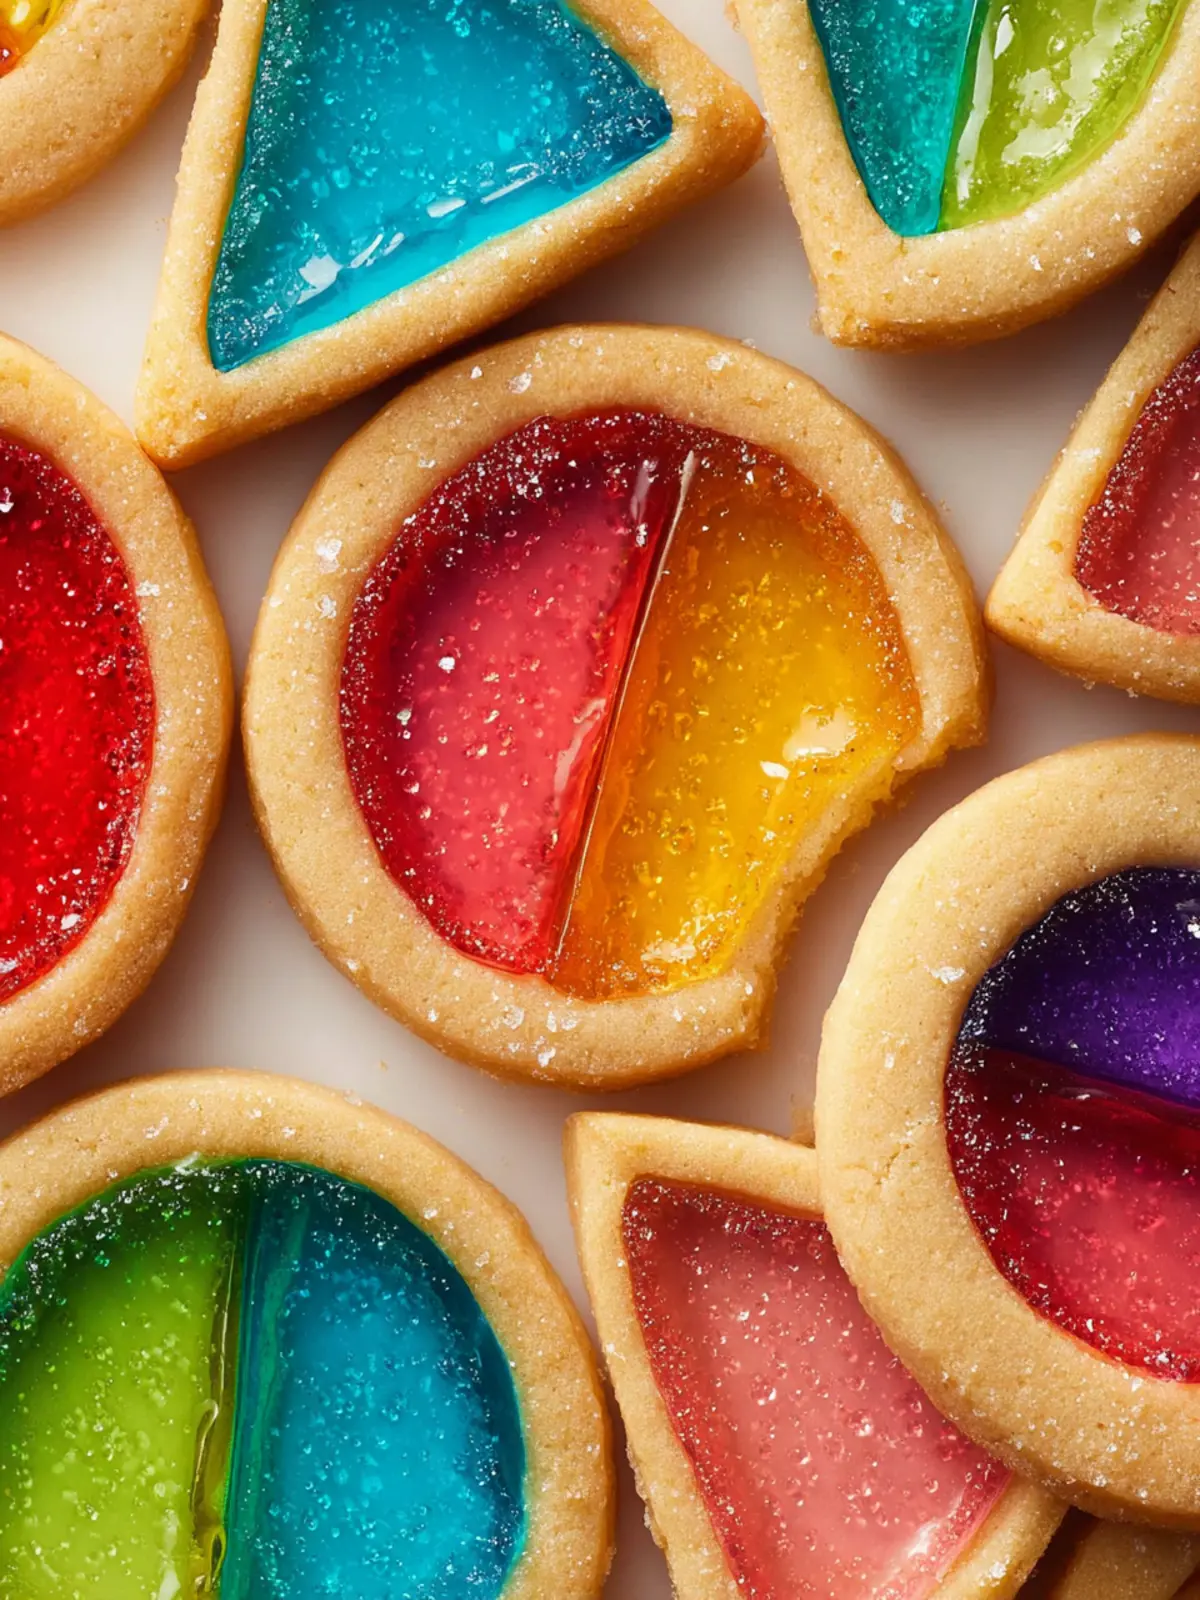
- Seasonal Themes: Use cookie cutters in various shapes to fit holidays. Hearts for Valentine’s, pumpkins for Halloween, and stars for Christmas not only celebrate the season but also elevate your cookie presentation.
- Custom Designs: Experiment with layering different colors and shapes. For instance, create a rainbow of glass pieces to mimic a stained glass window.
Unique Binders
- Nut Butters: Swap out some butter for almond or peanut butter for added depth. This variation works well, especially if you pair it with chocolatey glass candies for a delicious contrast.
- Almond Extract: Replace vanilla extract with almond extract for a nutty twist that harmonizes with the sweetness of your stained glass cookies.
These variations invite you to express your creativity while keeping the joy of decorating alive. Enjoy mixing and matching to find your perfect blend!
Cooking Tips and Notes for Stained Glass Cookies
Creating stained glass cookies can be a delightful project, but a few tips can elevate your experience and results. As someone who loves baking, I’ve turned cookie-making into an art form, particularly when it comes to these eye-catching treats.
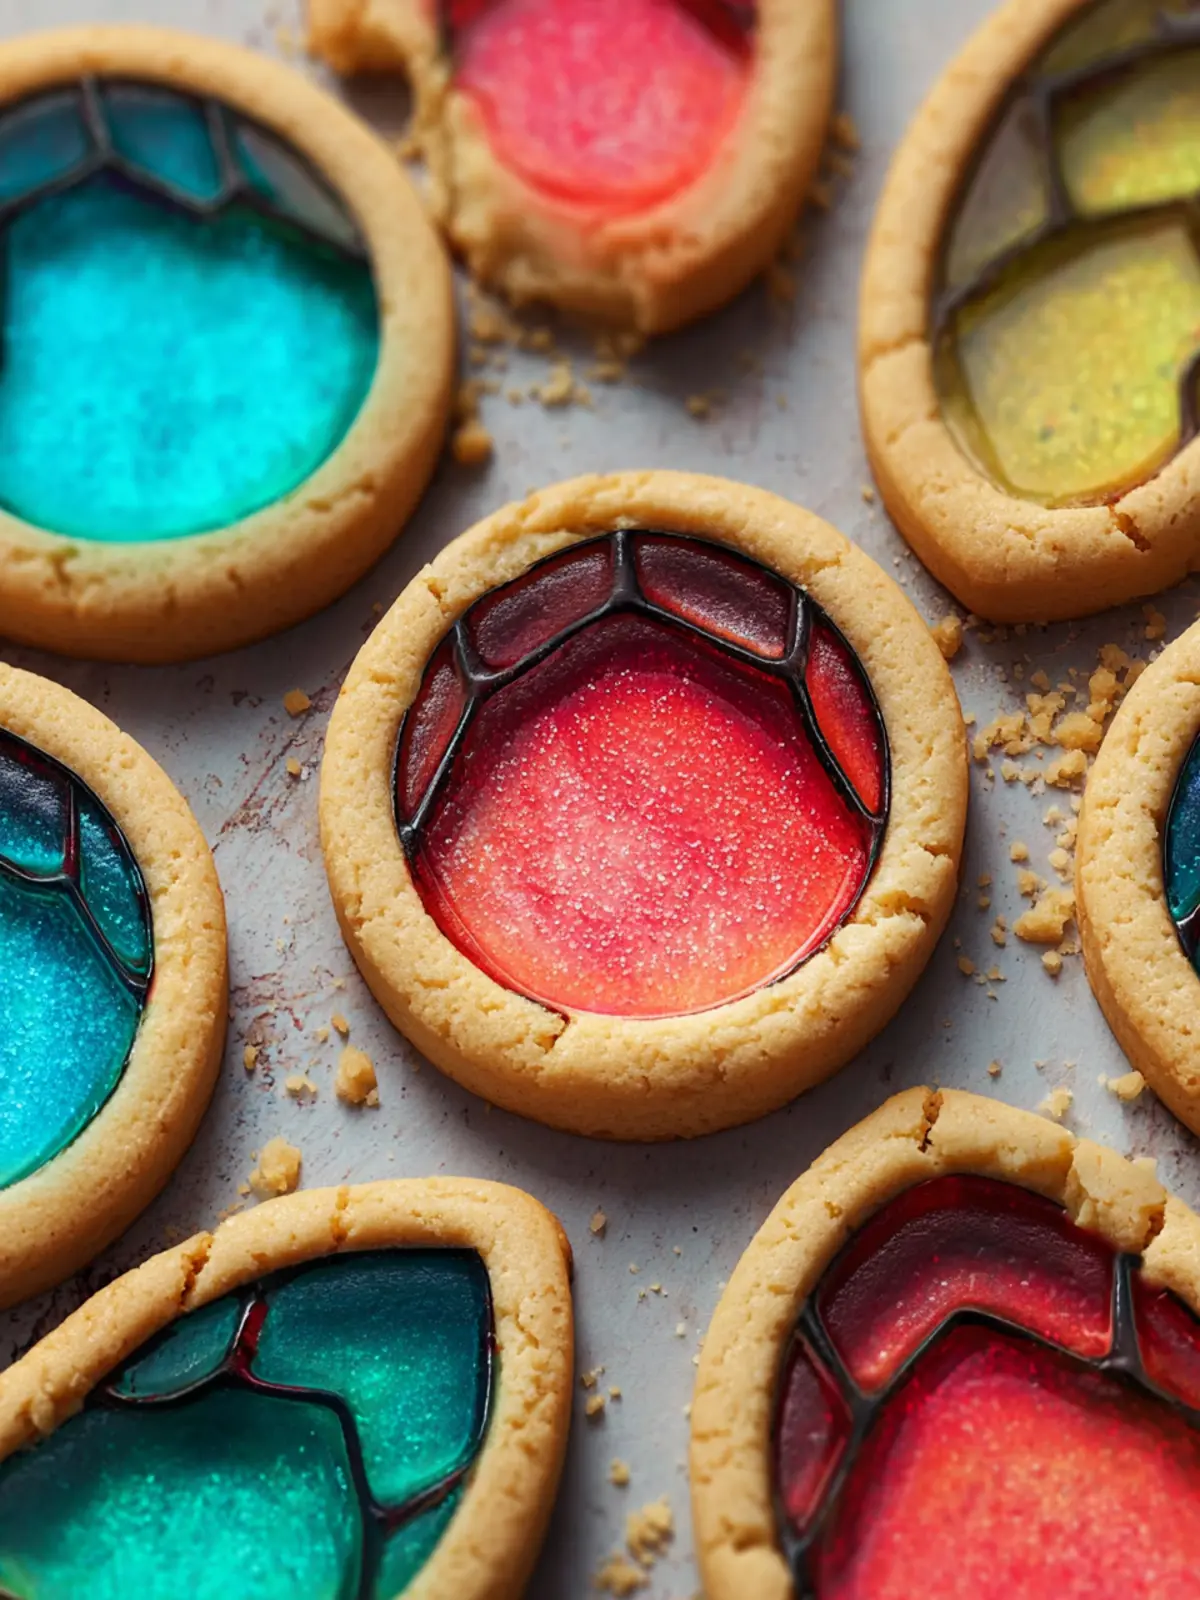
Choose the Right Candy
The candy used to create those beautiful stained-glass windows matters! I recommend clear hard candies like Jolly Ranchers or Life Savers; they melt beautifully and allow light to shine through. Chop them finely to ensure even melting, and don’t be afraid to mix colors for a unique look!
Roll Out Dough with Care
When rolling out your dough, aim for an even thickness of about ¼ inch. If it’s too thin, the cookies may break easily. Dust your surface with a little flour to avoid sticking, and don’t forget to chill the dough for about 30 minutes before cutting it into shapes. This step makes it easier to work with and helps keep those lovely designs intact.
Bake to Perfection
Keep an eye on your stained glass cookies as they bake. Ideally, they should be removed when the edges are just golden. Remember, they will continue to firm up as they cool, so it’s better to under-bake slightly than risk them becoming too crisp.
Experiment and Enjoy
Feel free to get creative! Different shapes and colors can turn boring cookie trays into a mesmerizing display. Enjoy the process, as the joy of baking isn’t just about the end result; it’s about the fun of making something truly beautiful. Happy baking!
Serving Suggestions for Stained Glass Cookies
When you present your stained glass cookies, you’re not just serving a treat; you’re sharing a story of creativity and warmth. With their vibrant, jewel-like appearance, these cookies are perfect for festive gatherings or as a delightful surprise for your loved ones at any time of the year. Here are some engaging ways to serve them:
-
Cookie Platter: Arrange your cookies on a colorful platter, mixing various shapes and sizes. This not only elevates their visual appeal but creates a fun conversation starter for your guests.
-
Gift Boxes: Pack the cookies in decorative boxes or clear bags tied with ribbon. They make charming gifts for friends and family, especially around the holidays.
-
Ice Cream Sandwiches: Try using two stained glass cookies to make ice cream sandwiches. The contrasting textures and flavors will provide a delightful treat for dessert lovers.
-
Tea Pairing: Serve your cookies alongside a selection of teas. The sweetness of the cookies complements the warmth and richness of various tea flavors beautifully.
These serving suggestions will ensure your stained glass cookies not only taste great but also leave a lasting impression!
Time Breakdown for Stained Glass Cookies
Baking stained glass cookies can be an enjoyable way to bring a little magic to your holiday celebrations. To get the most out of your baking experience, here’s a handy breakdown of the time you’ll need.
Preparation Time
The preparation time for these delightful cookies is about 30 minutes. You’ll need to gather your ingredients, mix the dough, and cut out those festive shapes. This is the perfect time to put on your favorite playlist and embrace the joy of baking.
Baking Time
Once your cookies are cut and ready, slide them into the oven. The baking time is approximately 10 to 12 minutes. Keep an eye on them as they turn golden and the candy melts perfectly in the center—a mesmerizing sight!
Total Time
Overall, you’re looking at about 40 to 45 minutes from start to finish for your lovely stained glass cookies. With just a little bit of time, you’ll have a batch of eye-catching cookies that are sure to impress friends and family alike. Happy baking!
Nutritional Facts for Stained Glass Cookies
When indulging in the colorful delight of stained glass cookies, it’s good to know what you’re treating yourself with. These beautiful, jewel-like treats hold not just aesthetic appeal but also some interesting nutritional nuggets.
Calories
Each stained glass cookie typically contains about 90-100 calories. These little bites can fit surprisingly well into a balanced diet without derailing your daily calorie goals, especially if you practice portion control.
Protein
While stained glass cookies aren’t your primary source of protein, they do offer roughly 1-2 grams per cookie. Pairing them with a glass of milk or a protein-rich snack can elevate your afternoon treat while ensuring you get a nice balance of nutrients.
Sugar
These cookies can pack a sugar punch, with around 6-8 grams of sugar each. The sweetness comes from the granulated sugar used in the dough and the hard candies that create the stained glass effect. Moderation is key, so enjoy each delightful bite while being mindful of your sugar intake!
FAQs about Stained Glass Cookies
How to properly store Stained Glass Cookies?
Stained glass cookies are not just a treat for the eyes; they’re a delightful snack that deserves proper care. To keep your stained glass cookies fresh, store them in an airtight container at room temperature. This will protect them from moisture and prevent the candy from becoming sticky. If you want to extend their shelf life, you can also freeze them. Just ensure they’re well-wrapped in plastic wrap and placed in an airtight container. When you’re ready to enjoy them, allow them to thaw at room temperature for the best flavor and texture.
What can I use if I don’t have the suggested hard candies?
Life sometimes throws curveballs when you’re in the kitchen, but fear not! If you don’t have the recommended hard candies for your stained glass cookies, consider using other options like Jolly Ranchers, Life Savers, or even crushed lollipops. Aim for candies that melt uniformly and maintain a vibrant color after baking. Just make sure to choose candies that complement the flavor of the cookies. Feel free to mix and match colors for a more visually stunning treat!
Can Stained Glass Cookies be made ahead of time?
Absolutely! One of the fantastic aspects of stained glass cookies is that they can be made ahead of time, which is great for busy schedules or when you want to impress guests. Once baked and cooled, store them in an airtight container, and they will keep well for several days. You can also prepare the cookie dough in advance and refrigerate it until you’re ready to roll it out and bake. This way, when unexpected guests arrive, you’ll be all set with a delicious, eye-catching treat!
Conclusion on Stained Glass Cookies
In summary, stained glass cookies offer a delightful blend of fun and flavor, making them perfect for any occasion. As you decorate these sparkling gems, you’ll not only create visually stunning treats but also unforgettable memories with friends and family. The beauty of this recipe lies in its simplicity and the joy it brings when shared. Remember, experimenting with different candy colors can lead to uniquely personal creations. So, don’t hesitate to let your imagination run wild! Whether you’re baking for a holiday or just for fun, these cookies are sure to brighten up your day. Enjoy your culinary journey!
Print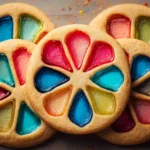
Candy Cookies
- Total Time: 30 minutes
- Yield: 36 cookies 1x
- Diet: vegetarian
Description
Delicious cookies filled with colorful candy that melt in the center.
Ingredients
Scale
- 1 cup unsalted butter (softened)
- 1 cup granulated sugar
- 1 teaspoon pure vanilla extract
- 1 large egg (at room temperature)
- 3 ½ cups all-purpose flour
- 1 ½ teaspoons baking powder
- ½ teaspoon salt
- 36 translucent hard candies (unwrapped, such as Jolly Ranchers)
Instructions
- Preheat the oven to 350°F (180°C), or 160°C fan oven. Prepare a cookie sheet by lining it with parchment paper or silicone mat and set aside.
- In the bowl of a stand mixer with a paddle attachment or a mixing bowl with a hand mixer, cream the butter with the sugar until smooth, light in color and creamy (2-3 minutes).
- Add vanilla and egg and mix again until the egg is incorporated but don’t over whip (the longer you whip the egg, it can souffle up and the cookies will rise and you don’t want that).
- Add in the flour, baking powder, and salt and mix again until just combined. Scrape the sides with a spatula so no dry flour is left.
- The cookie dough should pull away from the sides of the bowl (if it doesn’t, add up to ½ cup of additional flour).
- Divide the dough into 4 portions, and roll out each using a rolling pin into ¼ inch thickness.
- Cut out shapes using a larger cookie cutter for the outer shape and a smaller cookie cutter for the inner shape. Then with the help of an offset spatula, transfer to the cookie sheet.
- Place one unwrapped hard candy in the empty center of each cookie. If your inner shape is too small you may crush the candies to create smaller pieces. Avoid having the candy touch the edges of the cookie.
- Bake for 8 minutes (one sheet at a time), then check the cookies – if the candies are bubbling or close to bubbling, remove the cookies from the oven for 2 minutes, then return to the oven for an additional 2 minutes or until the cookies are set. To obtain a clean final look you want to avoid having the candies bubble up too high.
- When cookies are set, remove from the oven and allow to cool on the cookie sheet completely.
- Store in an air tight container for up to 1 week.
Notes
- Make sure the hard candies are unwrapped before baking.
- If your cookie cutter shapes are very intricate, consider using smaller pieces of candy.
- Prep Time: 20 minutes
- Cook Time: 10 minutes
- Category: dessert
- Method: bake
- Cuisine: American
Nutrition
- Serving Size: 1 cookie
- Calories: 150
- Sugar: 10g
- Sodium: 50mg
- Fat: 7g
- Saturated Fat: 4g
- Unsaturated Fat: 2g
- Trans Fat: 0g
- Carbohydrates: 19g
- Fiber: 0g
- Protein: 1g
- Cholesterol: 30mg


