Follow Me On Social Media!

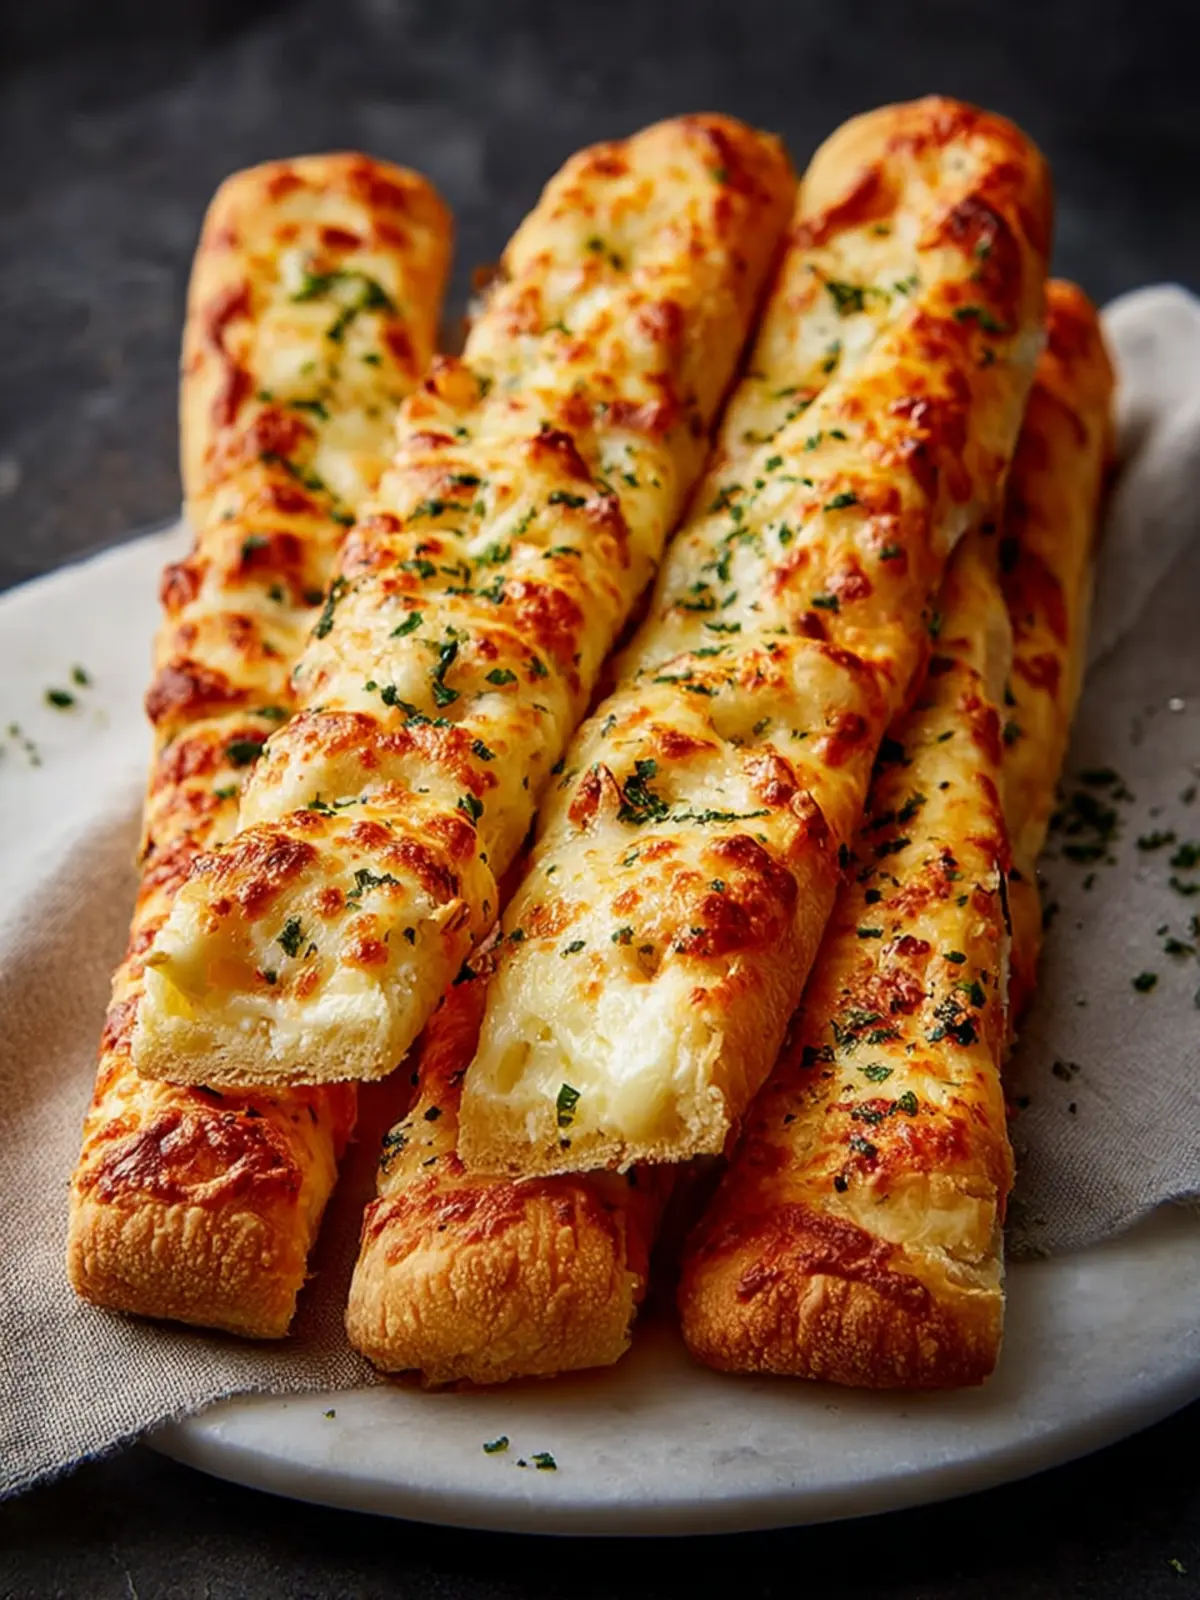
Homemade Cheesy Breadsticks: Irresistibly Gooey and Easy to Make

Introduction to Homemade Cheesy Breadsticks
Homemade cheesy breadsticks are not just a side dish; they’re a delightful experience that captures the essence of comfort food right in your kitchen. Picture this: It’s a chilly evening, your friends are gathered around, and the tantalizing aroma of freshly baked bread wafts through the air. Suddenly, you pull out a tray of golden-brown cheesy breadsticks, and just like that, you’ve created a moment that everyone will remember with fondness.
Why are homemade cheesy breadsticks a must-try? For one, they’re incredibly versatile. They can be served as an appetizer, paired with a warm marinara sauce, or even enjoyed as a snack during a Netflix binge session. The blend of melty cheese on soft, warm bread creates an irresistible combination that appeals to both young professionals and seasoned foodies alike. Plus, let’s face it—who doesn’t love the satisfying stretch of warm, gooey cheese?
Crafting these cheesy delights at home also gives you full control over the ingredients, ensuring that each batch can meet your personal preferences. Want a bit of spice? Throw in some red pepper flakes. Prefer a rich, basil-infused flavor? Just add fresh herbs to the mix. By making them yourself, you can adapt the recipe however you see fit, tailoring it to be exactly what you desire.
And let’s not underestimate the joy of baking. Engaging in the process allows you to unwind and perhaps even experiment with unique flavor profiles not typically found in store-bought options. Additionally, homemade cheesy breadsticks are an economical way to indulge. Instead of splurging at the restaurant, you can whip up a batch for a fraction of the cost.
Ultimately, making homemade cheesy breadsticks is more than just cooking; it’s about sharing warmth and deliciousness with the people you care about. Ready to dive into this recipe? Let’s get started!
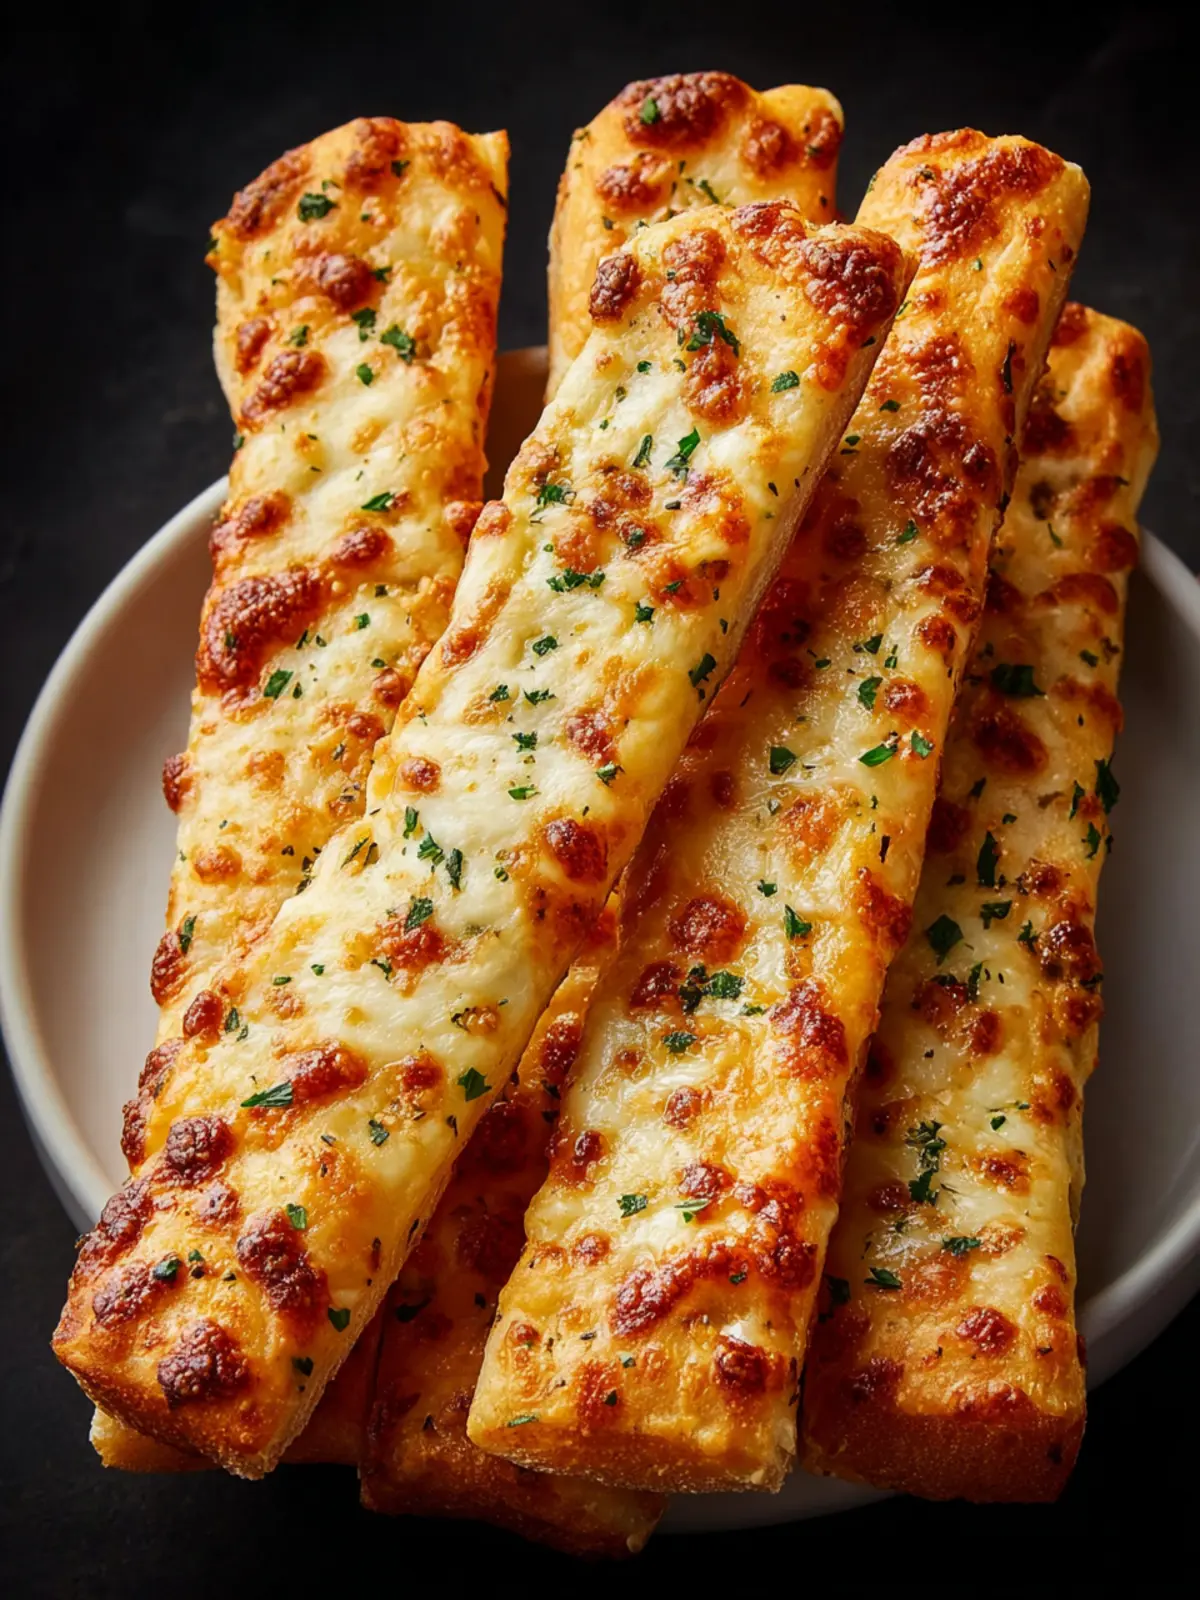
Key Ingredients for Homemade Cheesy Breadsticks
Creating homemade cheesy breadsticks is not just a cooking task; it’s an experience that fills your kitchen with warmth and delicious aromas. Each ingredient plays a crucial role in turning simple dough into a tantalizing treat.
Flour: I rely on all-purpose flour for its versatility; it creates a light, chewy texture that makes each bite satisfying. Whether you’re dipping it in marinara or enjoying it plain, the flour sets the foundation for perfection.
Yeast: Active dry yeast is essential for bringing the dough to life. Its ability to create that perfect rise gives the breadsticks a delightful fluffiness, making every bite feel like a mini celebration.
Mozzarella Cheese: My choice of cheese is always mozzarella. Its gooey melt and mild flavor harmonize beautifully with the breadsticks, creating the quintessential cheesy experience everyone craves.
Olive Oil: Adding olive oil not only enriches the flavor but also ensures a beautifully crispy exterior. That slight crunch complements the soft inside perfectly.
Melted Butter: I brush melted butter over the breadsticks just before baking. This not only enhances the flavor but also contributes to that irresistible golden finish.
Garlic Powder and Italian Seasoning: These two ingredients transform an ordinary breadstick into a crowd-pleaser. The garlic powder adds a savory punch, while the Italian seasoning brings a touch of aromatic goodness.
With these key ingredients, your homemade cheesy breadsticks will undoubtedly impress friends and family alike!
Why You’ll Love This Recipe
Flavor explosion
These homemade cheesy breadsticks are a total game-changer when it comes to snacking or side dishes! Imagine pulling apart a warm, gooey stick of cheese, its rich flavor perfectly complemented by a lightly seasoned, buttery crust. Each bite packs a delightful crunch followed by that unmistakable cheesy goodness. Whether paired with marinara for dipping or enjoyed solo, these breadsticks deliver a flavor explosion that elevates any meal.
Quick and easy preparation
You don’t have to be a culinary expert to whip up these scrumptious homemade cheesy breadsticks. With just a handful of ingredients and a simple process, you can have these tasty treats ready in less than 30 minutes. Perfect for weeknight dinners or unexpected guests, you’ll love how quickly they come together. Just mix, shape, and bake — it’s that easy!
Customizable for various tastes
One of the standout features of this recipe is its versatility. Want to jazz up your homemade cheesy breadsticks? Try adding your favorite herbs like oregano or basil, or even sprinkle in some garlic powder for an extra kick. You can vary the cheese too; mozzarella, cheddar, or even a spicy pepper jack can create a completely new flavor profile. The possibilities are endless, making every batch uniquely yours!
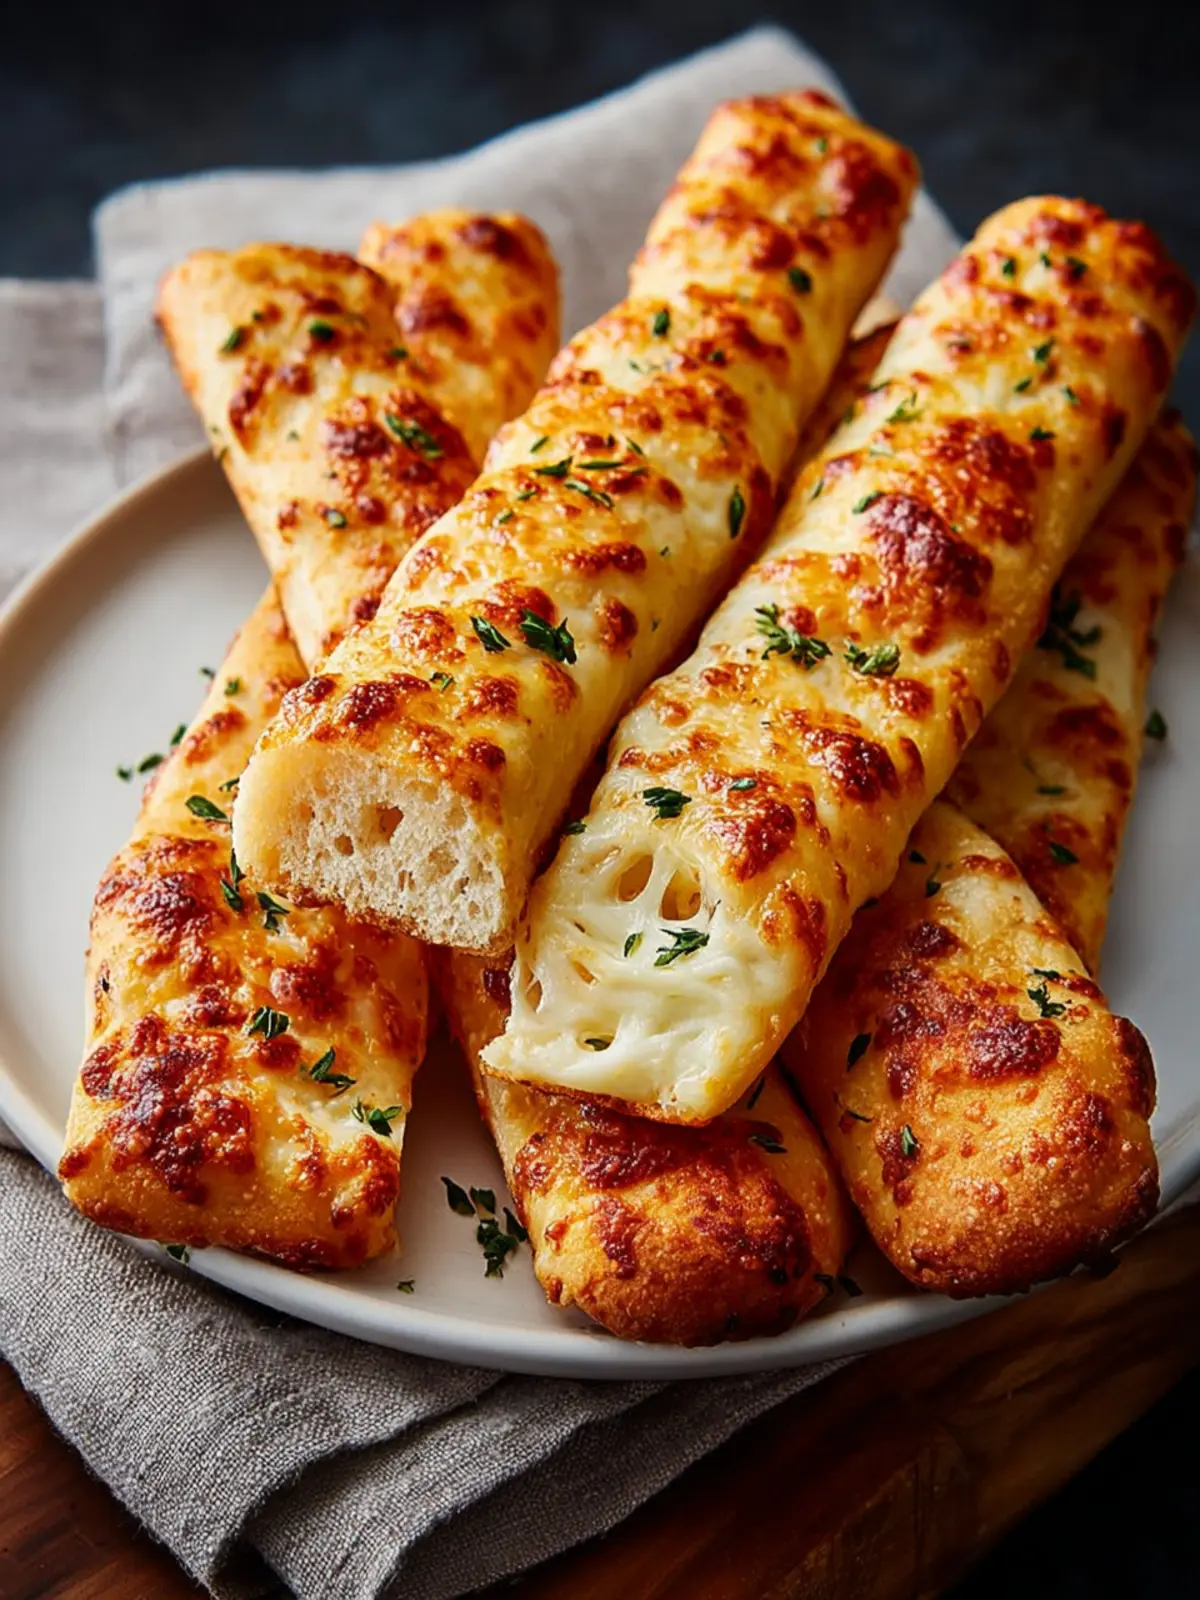
Variations
Exploring variations of these homemade cheesy breadsticks can elevate your home-cooking game. Let’s dive into some fun and delicious modifications!
Different cheese options
While mozzarella cheese reigns supreme for cheesy breadsticks, don’t hesitate to mix it up! Blend in some provolone for a sharper taste or cheddar for extra creaminess. You could even sprinkle in some Parmesan for a salty kick. Experimenting with cheese gives you the chance to create a flavor profile that perfectly suits your palate.
Add-ins and toppings
Take your homemade cheesy breadsticks to the next level with delightful add-ins and toppings. Consider incorporating garlic powder or Italian herbs into the dough for that extra flavor boost. After baking, try topping them with crushed red pepper flakes for a spicy element or a drizzle of pesto for a fresh, herbal note. The possibilities are endless!
Gluten-free alternatives
If you or someone you know is gluten-sensitive, don’t fret—making gluten-free homemade cheesy breadsticks is simple! Just swap out regular flour for a gluten-free all-purpose blend. Many brands provide great substitutes that don’t compromise on flavor or texture. With a few tweaks, everyone can enjoy this cheesy delight without worry.
No matter how you choose to personalize your homemade cheesy breadsticks, the key is to have fun and enjoy the process. Happy baking!
Cooking Tips and Notes
Creating homemade cheesy breadsticks can feel like a daunting task, but with a few expert tips, you’ll master this delicious treat in no time!
Ensuring Dough Rises Effectively
The key to fluffy homemade cheesy breadsticks lies in yeast activation. Make sure your water is warm—around 110°F is perfect. If it’s too hot, it can kill the yeast; too cold, and it won’t activate properly. Let the dough rise in a warm, draft-free area. A trick I love is placing it in an oven that’s turned off but still warm. Cover it with a kitchen towel to prevent it from drying out.
Perfecting the Baking Time
Baking time can vary based on your oven and the thickness of your breadsticks. Keep a close eye on them towards the end of the baking time. You’re aiming for a golden-brown color with a slightly firm exterior. If they’re not browning evenly, consider rotating the baking sheet halfway through to ensure they cook uniformly.
Storing and Reheating Breadsticks
Once your homemade cheesy breadsticks are baked, let them cool completely before storing. Place them in an airtight container at room temperature for up to 2 days or in the refrigerator for up to a week. To reheat, pop them in a toaster oven or at a low temperature in the oven until warmed through and slightly crispy again. They’re best enjoyed fresh, but a little reheating can work wonders!
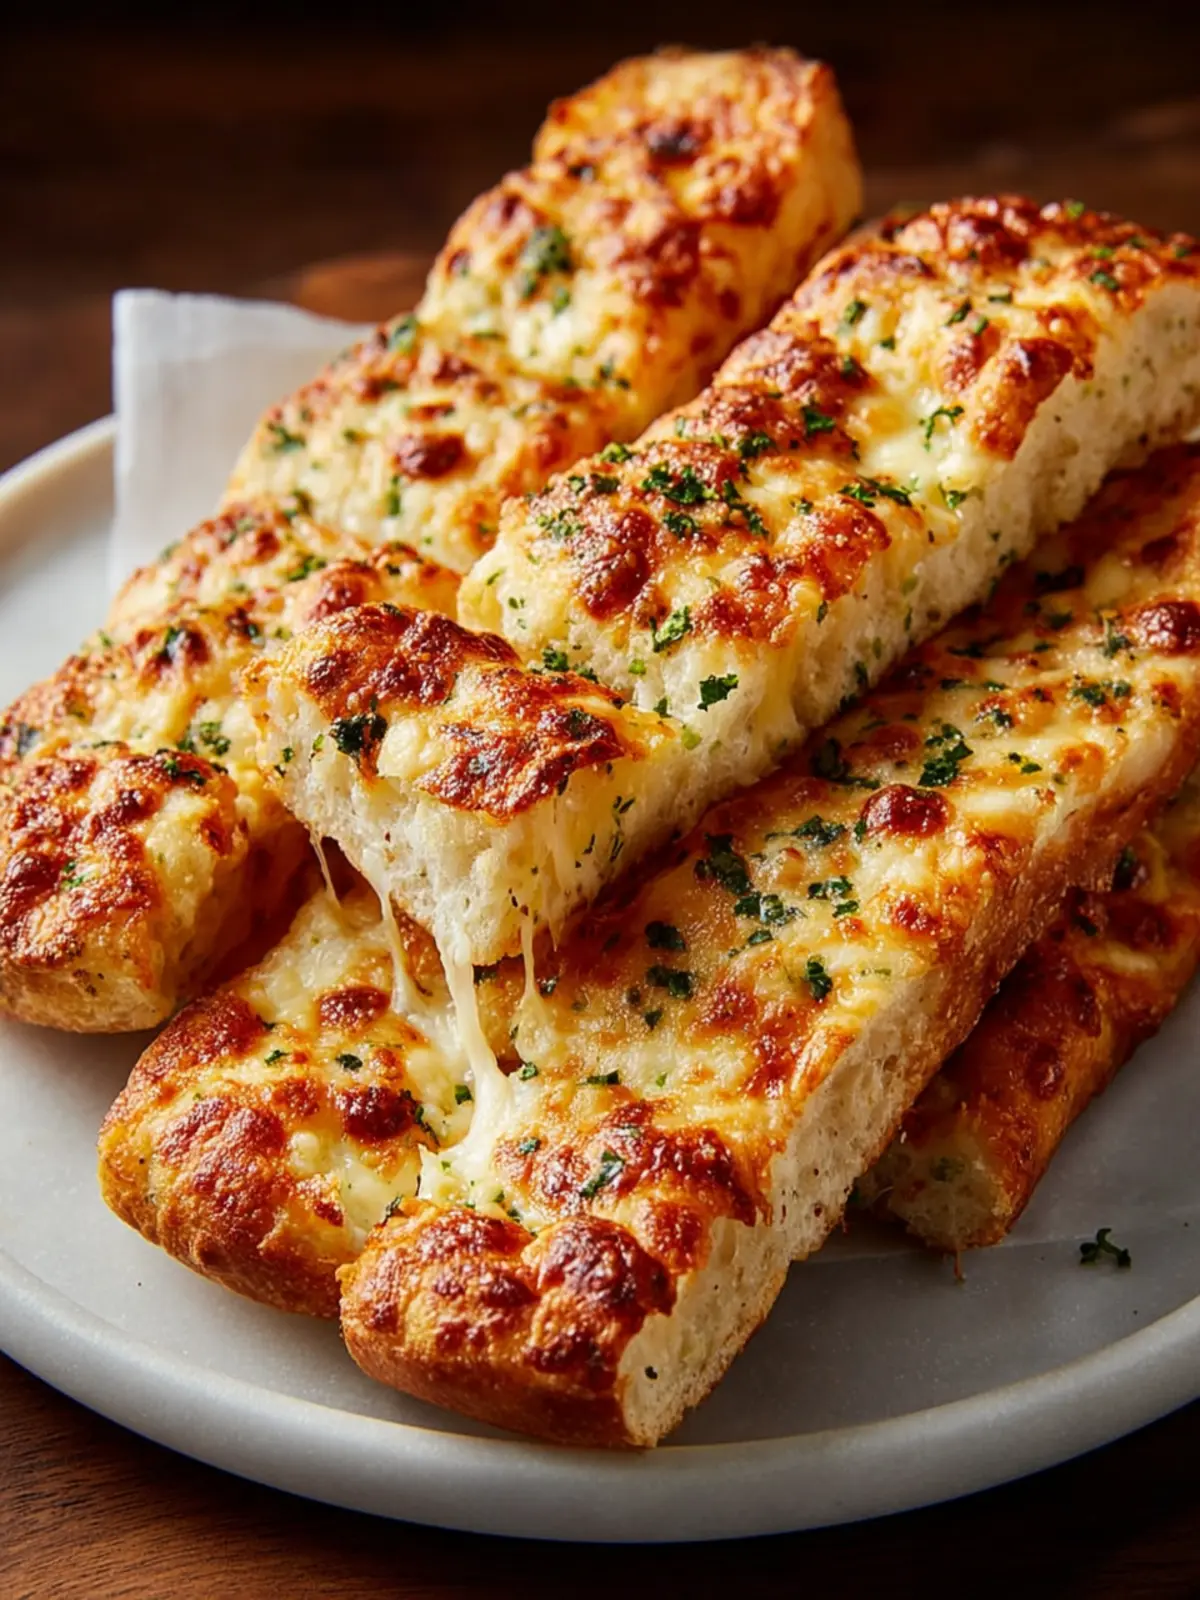
Serving Suggestions
Homemade cheesy breadsticks are the perfect comfort food that can brighten any gathering. Beyond their tantalizing taste, they offer a myriad of options to enjoy them.
Pairing with dips and sauces
These homemade cheesy breadsticks shine even brighter when paired with flavorful dips. Here are a few suggestions:
- Marinara Sauce: A classic choice, the acidity of marinara complements the gooey cheese beautifully.
- Ranch Dressing: Perfect for those who enjoy a creamy dip, ranch adds a tangy note that contrasts nicely with the warm breadsticks.
- Garlic Butter Dip: For garlic lovers, melt butter with minced garlic and a sprinkle of parsley to elevate those cheesy flavors.
Ideal occasions for serving
Imagine serving homemade cheesy breadsticks at:
- Game Night: These are ideal for munching during intense sporting events.
- Movie Marathon: They’re perfect for casual gatherings with friends and binge-watching your favorite series.
- Celebrations: Set them out at parties or family gatherings for a delightful shared dish that everyone will love.
Creativity in presentation
Don’t just serve your breadsticks on any plate! Get creative with how you present your homemade cheesy breadsticks:
- Rustic Wooden Board: Place the breadsticks on a wooden board, accompanied by small bowls of dips for a charming display.
- Personalized Portions: Serve them in mason jars for individual servings; it adds a whimsical touch.
- Garnishing: Sprinkle fresh herbs like parsley or chives on top for a pop of color and freshness.
By mixing and matching these suggestions, your homemade cheesy breadsticks will not only taste amazing but also look stunning on your table!
Time Breakdown for Homemade Cheesy Breadsticks
Making homemade cheesy breadsticks is not just about savoring the final product; it’s a delightful journey that unfolds over time. Understanding the timing involved can enhance your baking experience and ensure that every bite is just right.
Preparation time
You’ll need about 15 minutes to gather your ingredients and prepare the dough. This includes measuring flour, yeast, and, of course, that melty cheese!
Rising time
Give your dough approximately 1 hour to rise. This is when the magic happens—watch it grow and become fluffy, ready to transform into cheesy goodness.
Baking time
Pop your breadsticks into the oven for about 15-20 minutes. You’re looking for a golden-brown finish that will fill your kitchen with an irresistible aroma.
Total time
In total, plan for about 1 hour and 35 minutes from start to finish. It may seem like a waiting game, but the reward of warm, cheesy breadsticks will make it all worthwhile!
Nutritional Facts for Homemade Cheesy Breadsticks
Creating homemade cheesy breadsticks transforms a simple snack into a delightful treat enjoyed by all ages. Here’s a breakdown of what makes each bite so deliciously satisfying!
Calories
Each serving of your homemade cheesy breadsticks contains approximately 250 calories. It’s an indulgent choice, perfect for sharing during movie nights or as a party appetizer.
Protein
With around 10 grams of protein per serving, these cheesy delights provide a good boost to help sustain your energy. The added cheese really elevates the protein content, making them a more fulfilling option.
Carbohydrates
Expect to consume about 30 grams of carbohydrates with each serving. This serves as a quick source of energy, ideal for a snack before workouts or when you need a pick-me-up.
Fat
Each serving has roughly 12 grams of fat. While it’s important to be mindful of fat intake, the buttery goodness here adds to the overall flavor without compromising satisfaction.
Enjoy your cheesy creation while keeping these nutritional facts in mind!
FAQ about Homemade Cheesy Breadsticks
Exploring the world of homemade cheesy breadsticks can be an exciting culinary adventure! Whether you’re prepping for a movie night or a cozy dinner at home, this cheesy delight frequently raises questions. Here are some common queries to guide you through the process.
Can I freeze homemade cheesy breadsticks?
Absolutely! Freezing your homemade cheesy breadsticks is a fantastic way to save some for later. Just let them cool completely after baking, then wrap each breadstick in plastic wrap and place them in an airtight container or a freezer bag. They can be stored for up to three months. When you’re ready to enjoy them, just bake straight from the freezer; no need to defrost!
How can I make them extra cheesy?
If you are a cheese lover, adding an extra layer of flavor to your homemade cheesy breadsticks is simple! Consider the following:
- Use a combination of cheeses such as mozzarella, cheddar, and parmesan for a deeper flavor.
- Sprinkle shredded cheese on top before baking for that melty, gooey finish.
- Mix in some cream cheese into your dough for additional creaminess.
What is the best way to reheat them?
To maintain their texture and flavor, the best way to reheat your homemade cheesy breadsticks is in the oven. Preheat it to 350°F (175°C) and place the breadsticks on a baking sheet for about 5-10 minutes. This method ensures they remain crispy on the outside while melting the cheese just right. Avoid using a microwave, as it can make them chewy and soggy!
Conclusion on Homemade Cheesy Breadsticks
In wrapping up our journey through making homemade cheesy breadsticks, it’s clear that this delightful recipe is not just about indulging your taste buds, but also about creating cherished moments with friends and family. Whether you’re making them for a movie night or as a side for your favorite pasta dish, the cheesy, buttery goodness of these breadsticks never fails to impress. Their crispy exterior and chewy interior, paired with an irresistible cheese pull, evoke comforting memories of trips to your local pizzeria. So, gather your ingredients, unleash your creativity, and enjoy the satisfaction of serving up these delightful homemade cheesy breadsticks that everyone is sure to love.
Print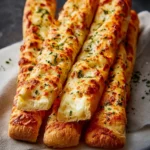
Cheesy Garlic Breadsticks
- Total Time: 1 hour
- Yield: 12 breadsticks 1x
- Diet: Vegetarian
Description
Deliciously cheesy garlic breadsticks that are perfect for dipping and snacking!
Ingredients
Scale
- 2 cups all-purpose flour
- 1 cup warm water
- 2 tsp active dry yeast
- 1 tbsp sugar
- 1 tsp salt
- 2 tbsp olive oil
- 1 cup mozzarella cheese (shredded)
- 0 cup cheddar cheese (shredded)
- 2 tbsp butter (melted)
- 0 tsp garlic powder
- 0 tsp Italian seasoning
Instructions
- Preheat oven to 400°F (200°C). Line a baking sheet with parchment paper.
- In a bowl, mix warm water, sugar, and yeast. Let sit until foamy.
- Add flour, salt, and olive oil. Mix and knead until smooth.
- Let dough rise until doubled in size, about 45 minutes.
- Roll dough into a rectangle and place on baking sheet.
- Brush with melted butter, sprinkle with garlic powder, herbs, and cheeses.
- Bake for 12–15 minutes until golden and bubbly.
- Cool slightly, slice into breadsticks, and serve warm.
Notes
- For a more intense garlic flavor, consider adding minced garlic to the butter before brushing.
- You can substitute the mozzarella with any cheese of your choice.
- Prep Time: 15 minutes
- Cook Time: 15 minutes
- Category: Appetizer
- Method: Baking
- Cuisine: Italian
Nutrition
- Serving Size: 1 breadstick
- Calories: 150
- Sugar: 1g
- Sodium: 300mg
- Fat: 6g
- Saturated Fat: 2g
- Unsaturated Fat: 4g
- Trans Fat: 0g
- Carbohydrates: 20g
- Fiber: 1g
- Protein: 4g
- Cholesterol: 10mg